
Lead paint remains a hidden hazard in many Washington, DC government buildings constructed before 1978. While federal regulations banned lead-based paint in residential properties that year, many government facilities still contain lead on walls, trim, doors, and other surfaces. Understanding how professional lead removal works helps facility managers navigate projects confidently and ensure proper outcomes.
Lead abatement isn’t as simple as scraping and repainting. It’s a regulated, systematic process designed to protect workers, building occupants, and the environment while permanently addressing lead hazards.
Why Lead Removal Requires Professional Processes
Lead is a powerful neurotoxin. Even small amounts of lead dust can cause serious health problems, particularly for children and pregnant women. Government buildings serving the public must maintain the highest safety standards.
The Regulatory Environment
Multiple agencies regulate lead removal in Washington, DC:
EPA (Environmental Protection Agency): Sets national standards through the Renovation, Repair, and Painting (RRP) Rule and other regulations.
OSHA (Occupational Safety and Health Administration): Protects workers through exposure limits and safety requirements.
DC Department of Energy & Environment: Enforces local regulations and certification requirements.
HUD (Housing and Urban Development): Provides guidelines for lead-safe practices.
Professional contractors navigate these regulations seamlessly, ensuring compliance at every step.
Health Protection Goals
The lead removal process aims to:
- Eliminate lead hazards permanently
- Prevent lead dust generation and spread during work
- Protect workers from exposure
- Keep building occupants safe
- Verify complete success through testing
Each process step contributes to these goals.
Phase 1: Inspection and Risk Assessment
Lead removal begins with understanding exactly what you’re dealing with.
Initial Testing
Certified lead inspectors survey buildings to identify lead-containing paint:
Visual Inspection: Inspectors examine all painted surfaces, noting condition and likely age.
X-Ray Fluorescence (XRF) Testing: Handheld devices provide instant, non-destructive lead content readings for different components and surfaces.
Laboratory Analysis: When XRF results are inconclusive, paint chip samples go to certified laboratories for definitive analysis.
Component Documentation: Inspectors create detailed maps showing which building components contain lead.
Risk Assessment
Beyond just finding lead, professionals assess actual hazards:
Deteriorating Paint: Peeling, chipping, or damaged lead paint poses immediate risk.
Friction Surfaces: Areas subject to wear (window channels, door frames) generate lead dust.
Impact Surfaces: Locations prone to damage create hazards when lead paint is disturbed.
Occupant Activity: How spaces are used influences risk levels.
Inspection Report
You receive comprehensive documentation including:
- Building maps showing lead locations
- XRF readings or laboratory results for each component
- Risk level assessments
- Photographs of conditions
- Recommended abatement priorities
- Preliminary scope and cost estimates
This report guides all subsequent decisions.
Phase 2: Planning and Preparation
With inspection results available, professionals develop customized abatement plans.
Abatement Method Selection
Different situations call for different approaches:
Complete Removal: Stripping or scraping away all lead paint down to substrate. Most permanent solution but most labor-intensive.
Component Replacement: Removing and replacing entire elements (windows, doors, trim) eliminates lead while updating building features.
Encapsulation: Applying specialized coatings over intact lead paint seals it in place. Suitable when paint is in good condition.
Enclosure: Installing barriers over lead surfaces (covering walls with drywall) isolates lead from occupants.
The right method depends on surface conditions, project goals, and future building use plans.
Project Planning
Detailed plans address:
Work Sequence: Which areas to address in what order.
Containment Design: How to isolate work areas and prevent lead spread.
Safety Protocols: Worker protection measures and emergency procedures.
Occupancy Management: How to maintain building operations during abatement.
Timeline Development: Realistic schedules accounting for all work phases.
Regulatory Compliance
Contractors handle required notifications and permits:
- DC DOEE notifications for lead abatement work
- Building occupant notifications
- Required posting and signage
- Permit applications and fees
Proper advance planning prevents regulatory delays.
Phase 3: Site Setup and Containment
Before any lead removal begins, work areas must be properly isolated.
Work Area Preparation
Professional setup includes:
Furniture and Contents: Items are removed from work areas or completely covered with heavy plastic sheeting.
Floor Protection: Multiple layers of plastic sheeting seal floors. Critical areas receive additional protection.
HVAC Isolation: Heating and cooling systems are shut down or sealed to prevent contamination spread.
Entry Control: Access points are limited and controlled, preventing unauthorized entry.
Containment Systems
Lead-safe work practices require comprehensive containment:
Physical Barriers: Six-mil polyethylene plastic sheeting seals all openings—doors, windows, vents, and wall penetrations.
Warning Signs: Required signage alerts building occupants and identifies restricted areas.
Negative Air Pressure: When required for larger projects, HEPA-filtered machines create pressure differentials preventing dust escape.
Decontamination Areas: Workers establish cleaning stations for exiting work areas.
Building Occupant Protection
For occupied government buildings:
- Alternative routes redirect foot traffic away from work areas
- Adjacent spaces receive enhanced cleaning during projects
- Communication protocols keep occupants informed
- Schedule coordination minimizes disruption
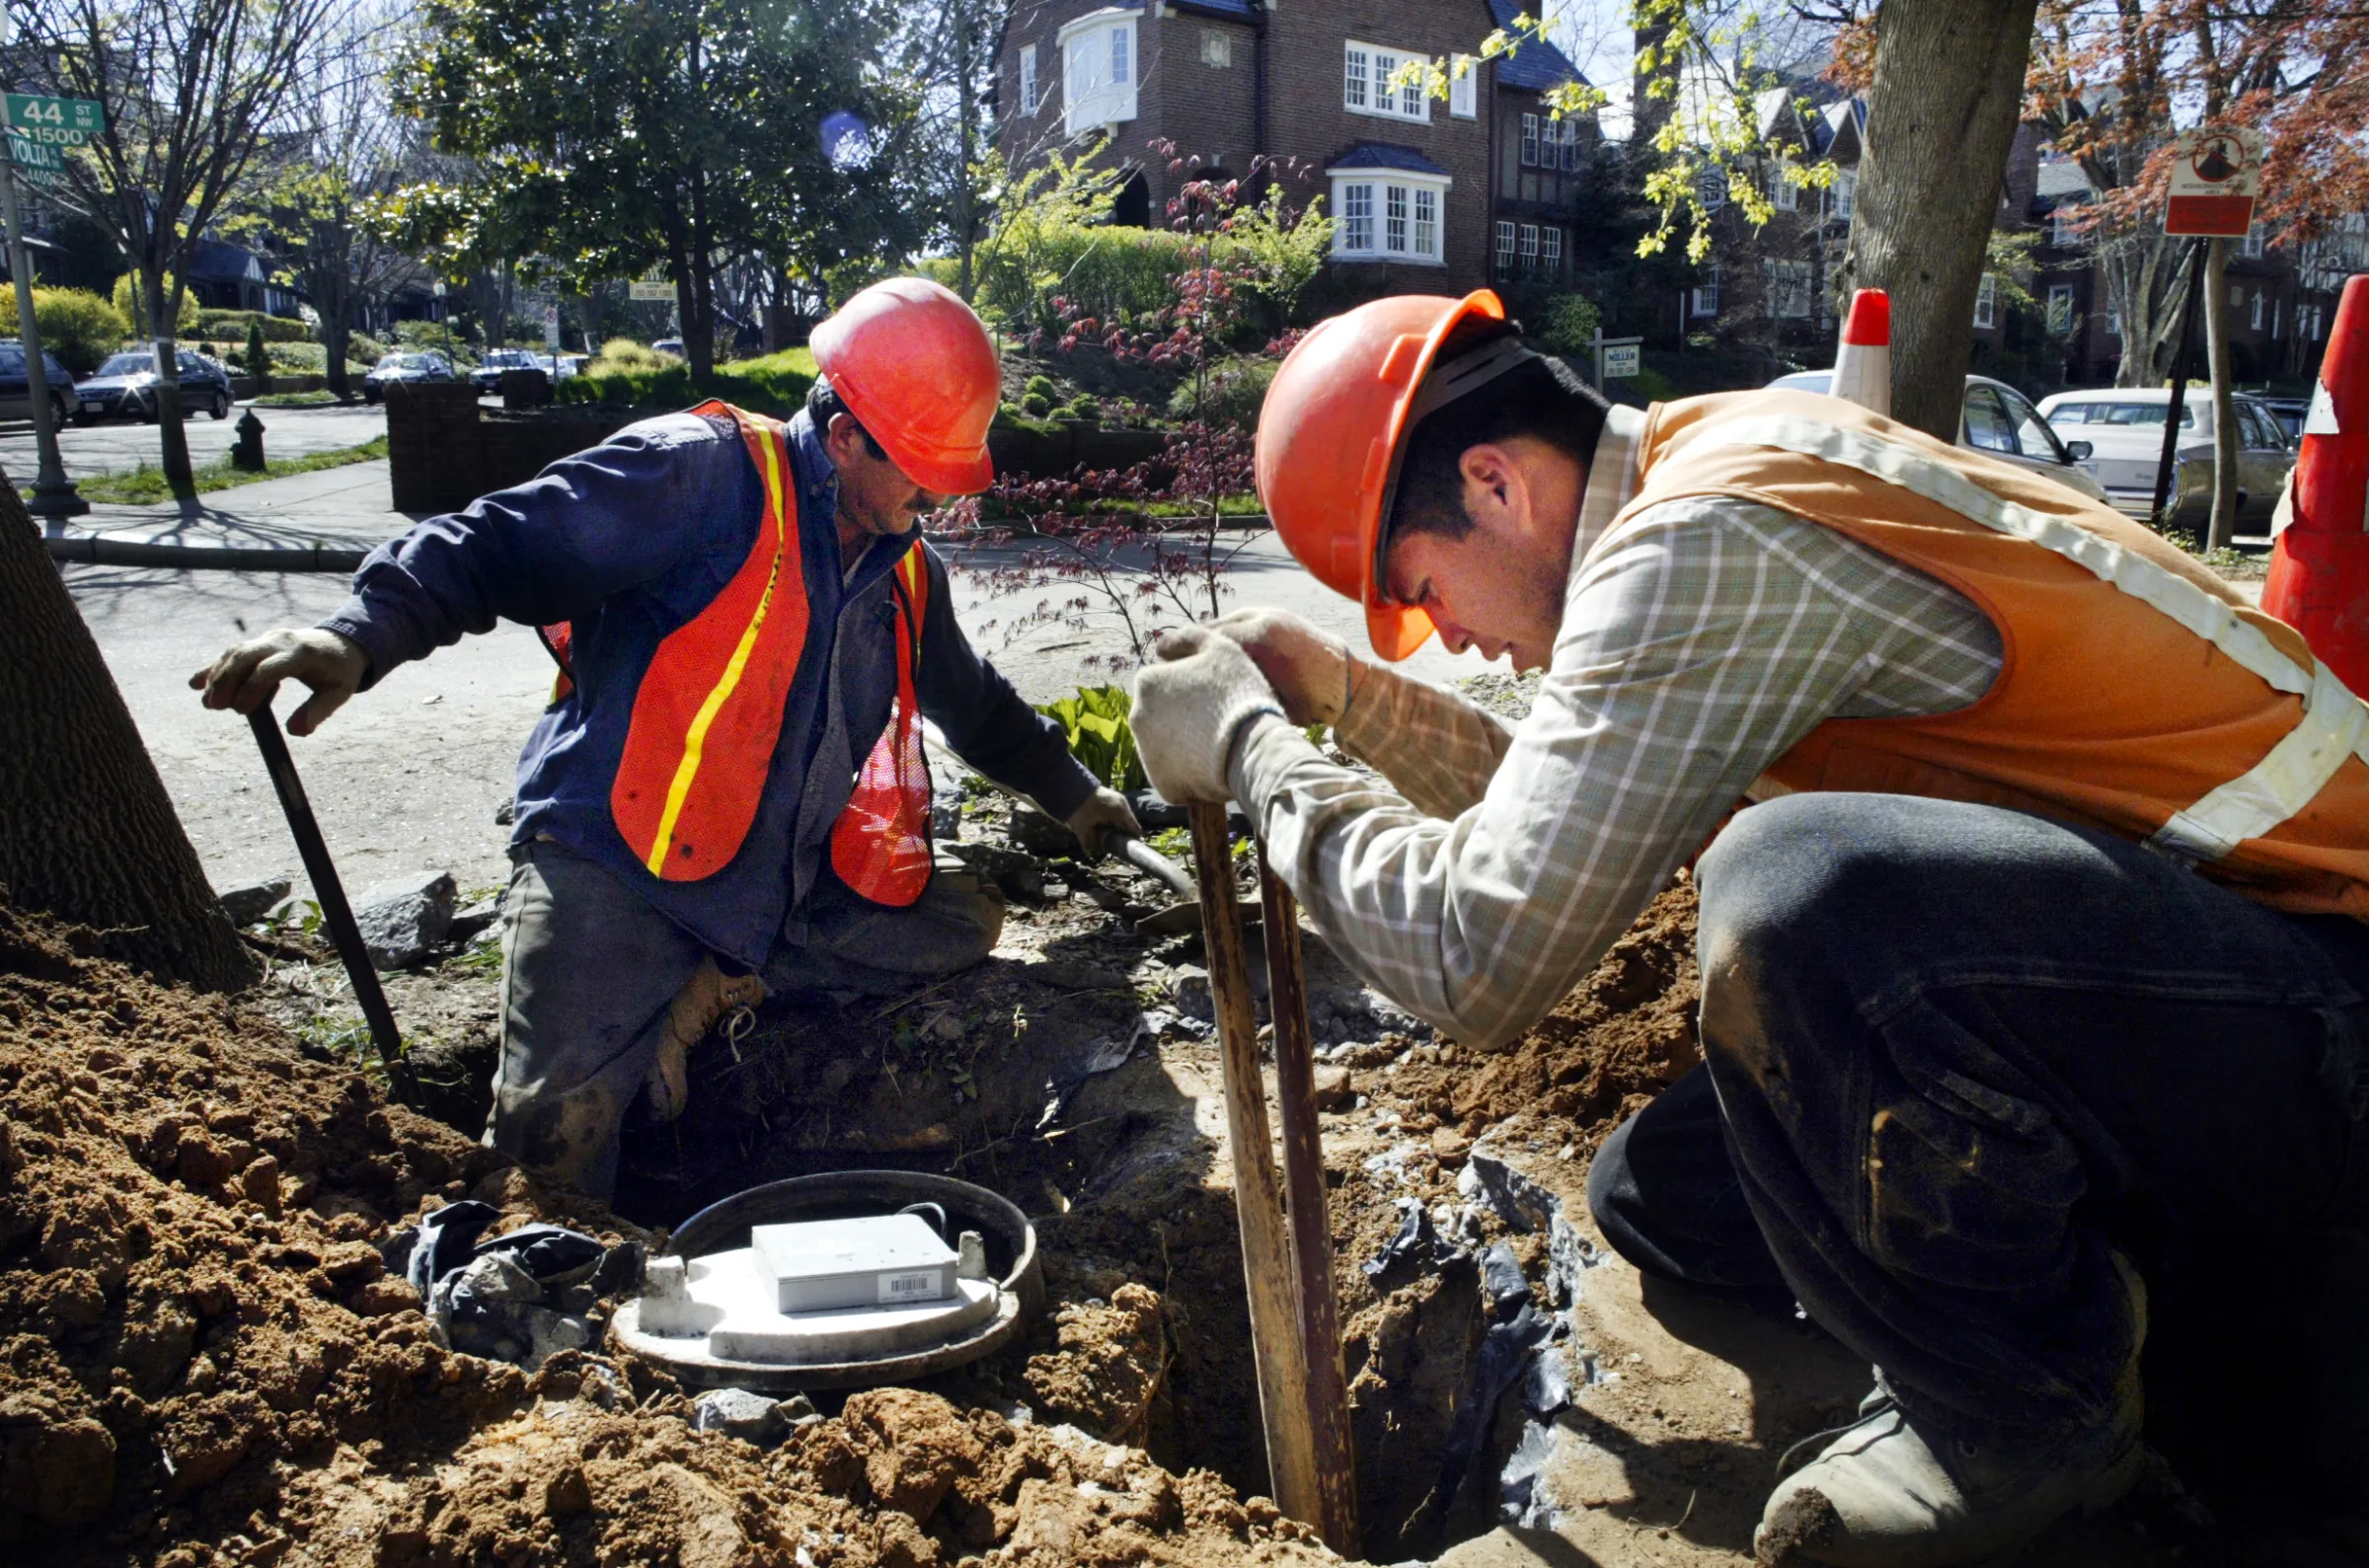
Phase 4: Lead Paint Removal
With containment established, certified workers begin actual abatement.
Worker Protection
Every worker involved in lead removal wears appropriate protection:
Respiratory Protection: Respirators with appropriate filters based on anticipated lead exposure levels.
Protective Clothing: Disposable coveralls prevent lead dust from contaminating workers’ clothing.
Gloves and Shoe Covers: Additional protection prevents lead transfer to clean areas.
Personal Hygiene: Workers shower and change clothes at project end, leaving lead dust behind.
Removal Techniques
Professional contractors use methods that minimize dust generation:
Wet Methods: Water application during scraping and sanding keeps lead dust suppressed.
Chemical Stripping: Paint removers soften lead paint for easier removal with less dust.
Controlled Mechanical Methods: When mechanical removal is necessary, HEPA-filtered tools capture dust at the source.
Component Removal: Taking out entire windows, doors, or trim for off-site disposal when appropriate.
Dust Control During Work
Throughout removal:
- Surfaces are kept wet continuously
- HEPA vacuums capture dust immediately
- Work areas are cleaned regularly during shifts
- Air monitoring verifies containment effectiveness
These practices prevent lead dust from becoming airborne and spreading.
Daily Cleanup
At the end of each work day:
- All surfaces are HEPA vacuumed
- Wet mopping removes remaining dust
- Waste is sealed in approved containers
- Containment integrity is verified
This daily discipline prevents contamination accumulation.
Phase 5: Thorough Cleaning and Decontamination
After lead paint removal is complete, comprehensive cleaning is essential.
Initial Cleaning
Work areas receive thorough decontamination:
HEPA Vacuuming: All surfaces—walls, floors, ceilings, fixtures—are vacuumed using HEPA-filtered equipment.
Wet Washing: Surfaces are wet-mopped or washed with special cleaning solutions that capture lead dust.
Multiple Passes: Critical areas receive multiple cleaning cycles ensuring complete decontamination.
Detailed Attention: Corners, edges, and hard-to-reach areas get careful attention.
Cleaning Verification
Professional contractors verify cleaning effectiveness:
- Visual inspection confirms no visible dust or residue
- White-glove testing checks surfaces for contamination
- Problem areas receive additional cleaning
Only after passing inspection does clearance testing proceed.
Phase 6: Clearance Testing
Government buildings cannot be reoccupied without independent verification of safety.
Dust Wipe Sampling
Certified inspectors collect samples to test lead levels:
Sample Locations: Multiple samples are collected from floors, window sills, and window troughs in each work area.
Laboratory Analysis: Accredited laboratories analyze samples measuring lead content in micrograms per square foot.
Clearance Standards: Results must meet EPA standards—40 µg/ft² for floors, 250 µg/ft² for window sills, 400 µg/ft² for window troughs.
Visual Inspection
In addition to dust testing, inspectors verify:
- Complete removal of lead paint from targeted surfaces
- No visible dust or debris remaining
- Proper cleaning of all surfaces
- Containment materials removed and disposed
Clearance Decisions
Areas pass clearance when:
- All dust sample results are below EPA limits
- Visual inspection confirms thorough cleaning
- Documentation is complete and accurate
If any samples exceed limits, additional cleaning and re-testing occur until areas pass.
Phase 7: Waste Disposal and Documentation
Proper conclusion of lead projects requires careful waste handling and record-keeping.
Lead Waste Disposal
All lead-containing waste receives proper treatment:
Waste Containment: Paint chips, contaminated materials, and containment plastic are sealed in heavy-duty bags.
Proper Labeling: Waste containers receive required hazard warnings and identification.
Licensed Disposal: Waste goes to facilities approved to accept lead-contaminated materials.
Documentation: Waste manifests track disposal providing permanent records.
Project Documentation
You receive comprehensive records including:
- Initial inspection and testing reports
- Abatement work plans
- Daily activity logs
- Worker certifications
- Clearance testing results
- Waste disposal records
- Photographs documenting work phases
- Final completion certificates
This documentation demonstrates compliance and supports future facility management.
Post-Project Considerations
After successful lead removal, buildings are ready for normal use, but some considerations remain.
Maintenance Practices
Buildings should implement lead-safe maintenance procedures:
- Regular inspection for paint deterioration
- Lead-safe work practices for any future renovation
- Documentation updates as building conditions change
Future Testing
Periodic inspections verify that:
- No new lead hazards have developed
- Previous abatement remains effective
- Building continues to meet safety standards
Why Professional Processes Matter
DIY lead removal in government buildings is illegal and dangerous. Professional processes ensure:
Worker Safety: Certified workers with proper protection prevent occupational exposure.
Occupant Protection: Proper containment prevents lead dust from contaminating occupied spaces.
Environmental Protection: Approved disposal prevents environmental contamination.
Regulatory Compliance: Following established procedures avoids penalties and legal issues.
Verified Results: Independent testing confirms success rather than relying on assumptions.
Selecting Qualified Contractors
Government buildings in Washington, DC deserve contractors who:
- Hold current DC lead abatement certifications
- Have proven government building experience
- Follow EPA Lead Renovation, Repair, and Painting rules
- Maintain comprehensive insurance coverage
- Provide detailed documentation
- Communicate clearly throughout projects
Final Thoughts
The lead removal process in Washington, DC government buildings is systematic and thorough for good reason. Lead exposure poses serious health risks that demand professional handling from start to finish.
Understanding this process helps government facility managers make informed decisions, set appropriate expectations, and ensure their buildings receive proper lead abatement services. From initial inspection through final clearance testing, each step contributes to the ultimate goal—safe government facilities free from lead hazards.
When your government building requires lead removal, choose contractors who understand and follow proven processes. The investment in professional lead abatement delivers safe buildings where employees work and citizens receive services without exposure to this preventable health hazard.
